

I did it just for fun, so I think it's a nice title because it's supposed she did "it" also for fun :) ... I suppose
No transcendental messages in the picture, simply practicing.
Not exactly a making of, but a guide of how I did some of the job. Of course, any critics are welcome and overall,
if those critics show everybody how you think I could did anything better or faster. This way we learn together.
-----
Bueno, por esta vez voy a compartir un trabajo propio donde "investigo" un look comic para futuros renders. Lo hice para divertirme un rato, así que también lo titulé así porque el personaje lo hace también solo por diversión... supongo :) Nada de mensajes transcendentales, solo practicar un poco.
Más abajo dejo algo parecido a un making of donde comparto cómo hice algunas cosas, lo cual no significa que sea el mejor modo de conseguirlas.
Así que si alguien aconseja cómo lo habría hecho y/o mejorado para que así aprendamos todos, mejor que mejor.


Base image and depth pass. I create a depth map because I create the smoke using Blender and I need to compose them anyway, so using a luma matte and this pass I get better composition.
----
Imagen base y pase de profundidad. Creé el humo en Blender por lo que para componerlo de alguna manera necesito ese pase de profundidad par conseguirlo usando un matte luma.


RPG smoke. Back and front
-------
Humo trasero y frontal del RPG


Smoke renders for compositing using Depth pass and different blending modes
-------
Renders de humo para componer usando el pase de profundidad
y diferentes modos de blending de capas


I mixed this pictures (yup, second one is Skybaker) using hard light blending.

Niebla en modo linear para conseguir el velo de la atmósfera

Para las pierdas use Fracture con una caja y use la herramienta magnet
para darle una forma que se acomodara a la nave abatida.
Use parte de los puntos de esa caja para crear instancias de cuatro rocas diferentes

Esos mismos puntos de instancias los utilicé para crear hypervoxels en modo volume y simular de esta manera la tierra entre las piedras

Captura en modo perspectiva


Rig básico para colocar en posición el personaje.

Como veis la luz principal es la única que tiene activadas las sombras. En este caso raytrace

Además hay una luz de relleno (área) y dos de recorte (arriba y abajo, spotlights en este caso) para separar el personaje del fondo y de la nave.

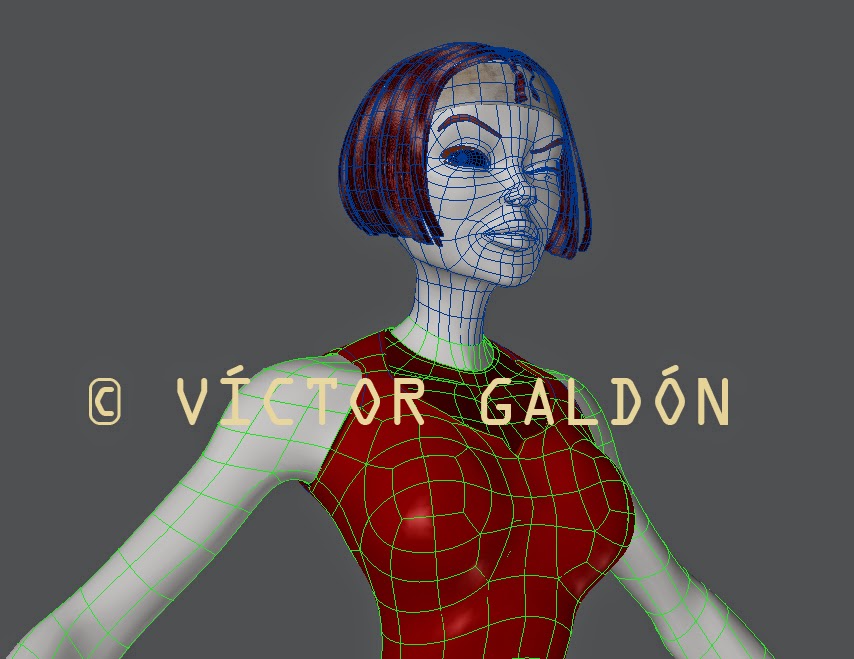
Front view of the character
---------
Vista frontal del personaje

Smile morph
------
Morph de sonrisa
Wink morph.
----
Morph de guiño de ojo.
2 comments:
It's a fun render! Is the cartoony look created more by the textures used, then? Or is it the settings in the lights?
HI. Thanks for your comment!
I think is the lighting because the textures are realistic maps applied using UV's and even skin is the simple skin node adjusted a bit. Hard edges shadows give that comic look, similar to what you get using unreal xtreme, in instance. Notice only the main light has shadows activated what makes more noticiable the shadows. If not I would get a mishmash of shadows.
By the way I must say that I used a bit of normal maps created in Blender (only trousers)
Post a Comment